
3D interior visualization for beginners
How do interior 3D visualizers work on projects? What does it take to become a 3D visualizer?
The interior design profession has a fairly strong position due to the fact that the real estate market is growing, and clients are interested in high-quality interior design - both residential and commercial.
And in this area, the work of a 3D visualizer is very important, which creates a realistic image of how a room, office or house will look like in the end, taking into account wall decoration, furniture arrangement, lighting and other details. Due to high demand, prices for such a service are above average: a good product visualization professional can earn from $2,000 per month and more.
Therefore, many people dream of inventing cool interiors and learning how to make a delicious presentation of designer ideas.
How 3D interior visualizers work on projects
First of all, the designer thinks over and coordinates the layout of the room with the client. To do this, you need to take accurate measurements. Usually they are provided by the client - either he measures the area himself, or hires a specialist.
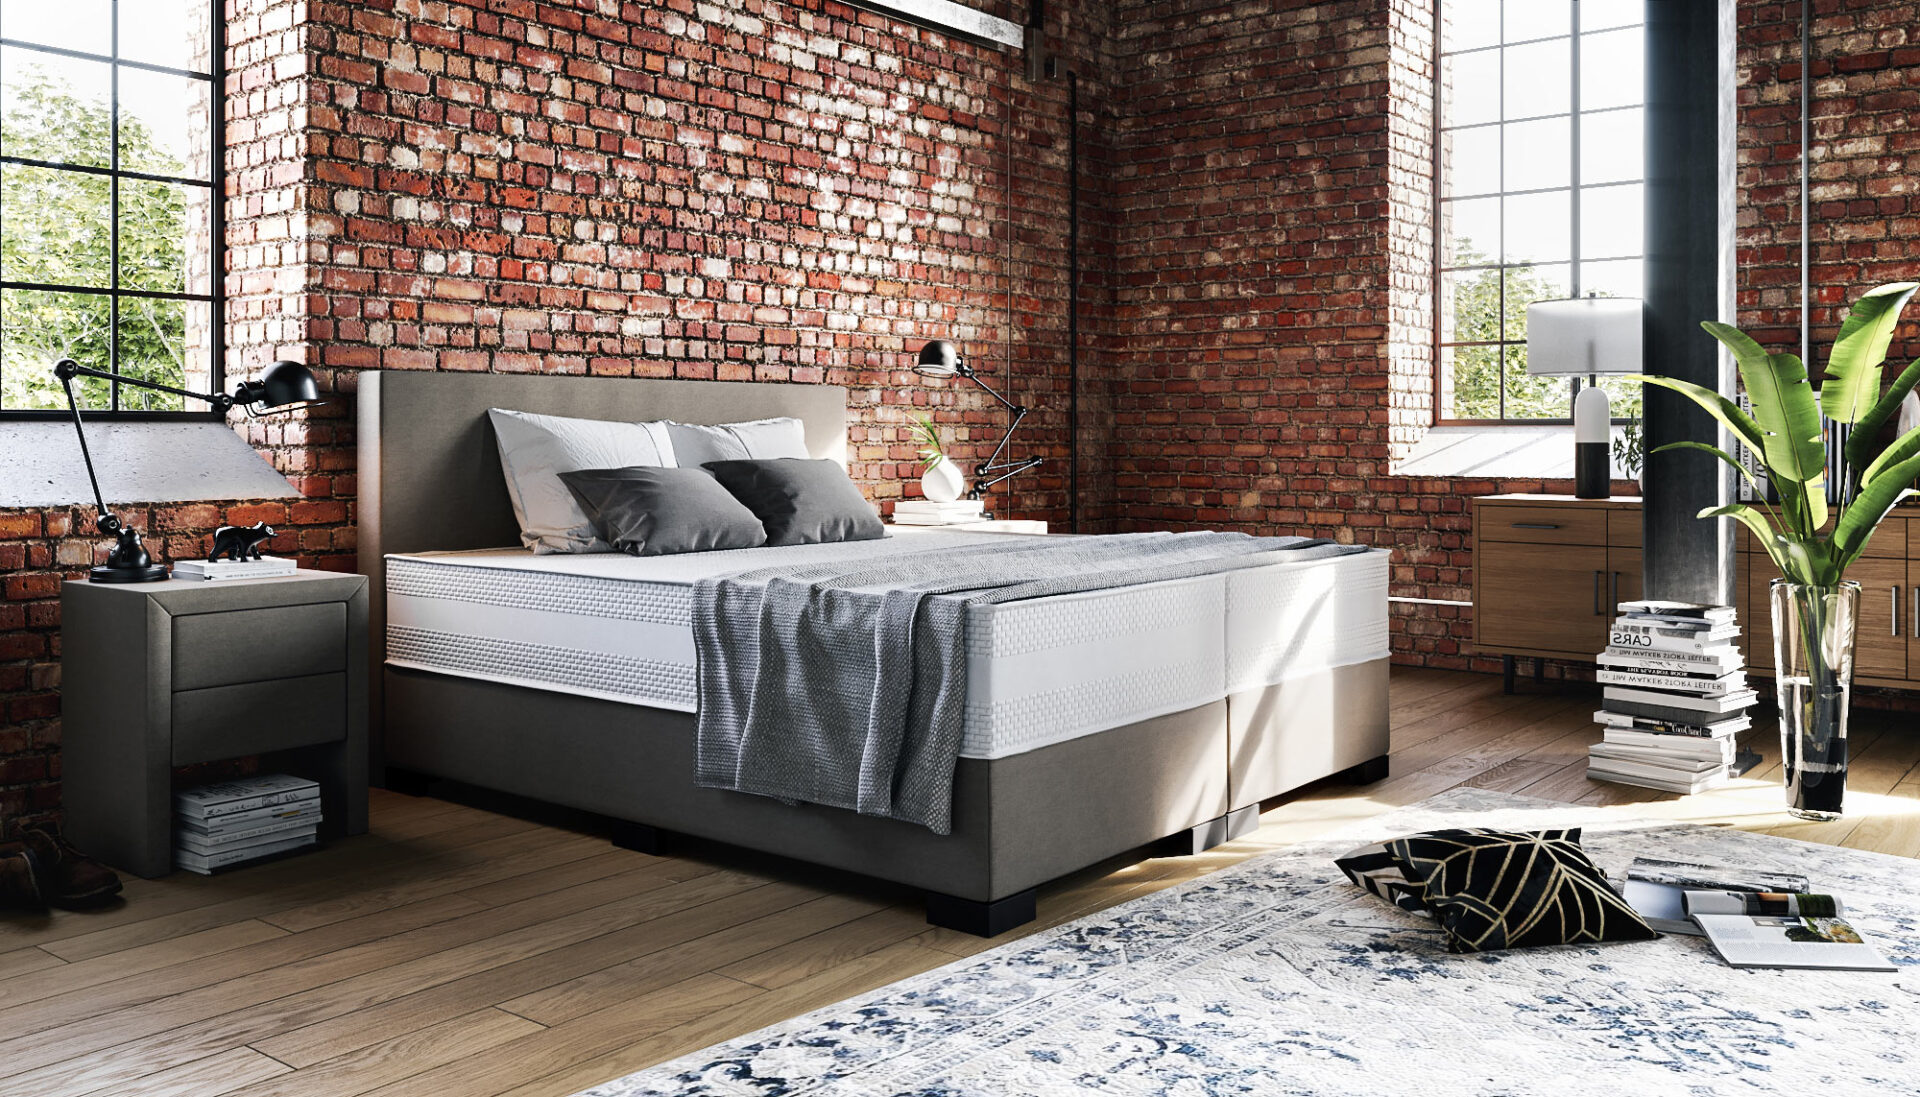
How the interior will look like can be shown either conditionally (schematically) or photorealistically, depending on the budget. Now the second option is mainly required, since it is more convenient for the client to see the final result in detail and, if necessary, make wishes at the stage of thinking.
There are four forms of design creation:
- Sketch drawn by hand.
- Moodboard collage (in Photoshop).
- Sketchy 3D visualization (in the SketchUP program).
- Photorealistic rendering (3ds Max+Corona).
3D visualization programs
The 3D visualizer outlines the layout in a convenient way: by hand or in programs: AutoCAD, ArchiCAD or even in the more complex Revit.
We recommend learning ArchiCAD. It has functionality even for complex architectural and engineering solutions, but it is easy to learn if it is used only to create layouts or simple drawings. ArchiCAD includes a built-in ready-made library of decorative and functional elements of the room (windows, doors, beams, etc.), thanks to which you can immediately start “building” an interior drawing and working on its design.
Visualizers do not develop models on their own - for this there are ready-made libraries with selections of the necessary elements. As a rule, they contain interior items from the catalogs of popular stores, so customers can order visualizations based on the specific products they have chosen for the arrangement of the room.
Previously, photorealistic visualization was something elite and inaccessible: there were no good courses for mastering it, it was difficult to study it. Then the visualizers used the Vray rendering plugin, which was integrated into a number of programs like SketchUp or Autodesk 3ds Max. In addition, he had dozens of settings that, at the beginning of work, had to be set again every time - it took time, and it just got boring.
Then came the Corona Renderer visualization system. After the tedious Vray, users especially appreciated its simplicity and beauty of presentation "out of the box", without the need for additional settings.
Therefore, she literally broke into the design market and quickly conquered it.
Stages of interior visualization
Work on the render takes from several hours to several days, depending on the complexity of the task and the professionalism of the performer, without taking into account the time of discussion and agreement with the client.
The whole process can be divided into the following steps:
- Make sure that the computer has enough RAM to do the work (8 GB is enough for basic projects, and then the programs will slow down a bit, from 16 GB is ideal).
- Raise the walls according to the drawing (takes about 20 minutes). A drawing made by hand or in a program is usually issued by the client, and in the process of visualization it becomes the base, the “framework”, for further work.
- Select models of interior elements (windows, doors, furniture, decor, etc.) and insert their project. There is no need to model furniture from scratch (with the exception of a simple cabinet, bar counters and kitchens), and there is no point. You can take the necessary elements from libraries and insert them into the project, especially since clients need to see how the interior looks like the item that they decided to order from a particular brand or buy in a particular store. We took into account all the wishes and difficulties that the team members or our students faced when working on interior visualization, and created our own library - 3D Hamster. Our main task was to collect in one place all the most popular interior items, so we actively cooperate with stores and regularly update the catalog. Additionally, the library has backgrounds outside the window, textures and materials, two-dimensional models of people.
- Setting the angle is the most important part of rendering. Its task is to focus on some part or some specific aspect of the project. For example, to give visual information to builders on the performance of work or to show the client a general view of the premises.
- Set up materials - give color, texture, pattern to all surfaces. For example, the metal elements of a bar counter and a wooden countertop cannot look the same and differ only in color. For users of the aforementioned 3D Hamster, this is a fairly simple step, since the program has a library of materials. Therefore, beginners do not necessarily need to be able to tune them at the beginning of their career, but over time this should be done, since the independent development of such parts increases the value of a specialist in the market.
- Adjust the lighting in the frame.